 The guest bathroom in my house has been a source of constant frustration since I moved in with my, now, husband five years ago. The dingy green wallpaper and carpenter grade cabinetry made the room feel dirty and cheap. Scott, my husband, told me from day one that I couldn't paint over the wall paper because it had some sort of vinyl in it. It may have taken years but I finally got a wild hair up my bum and started researching the basis of his claims. Turns out there was a simple solution - primer (or in my case, paint with primer built in).
That was all I needed to get my brain turning about what I wanted to do in there but with limited money, I decided to wait until after the Holidays to undertake the project. However, I make it a habit to check the "mistake" section in the paint department every time I'm at Wal-Mart and one day I found just what I needed to kick start my plan a little early - the perfect shade of greenish gray with primer build in for only $4.98! Are you kidding me?!
After the paint went up I knew I couldn't leave it at that. This was the guest bathroom and would be seen by anyone who visited the house, it had to have some wow factor. I rearranged accesories and switched out shower curtains, trying to work with what I had, yet nothing was working for me so I decided to take a trip up to Goodwill to find some motivation (and hopefully a good deal).
 It must have been my lucky day because I found a great shower curtain that would work perfectly with the new wall color for only $3.99! While I was out I swung by Dollar Tree and found a plastic basket I could use for my son's bath toys that would go with the color palate that was starting to form. Yet, the cabinets and towel holder were still urking me so I decided to go ahead and paint those too. For under $8 I got a high gloss dark brown color that instantly made the entire space seem more expensive and while I was at it, I replaced the pulls.
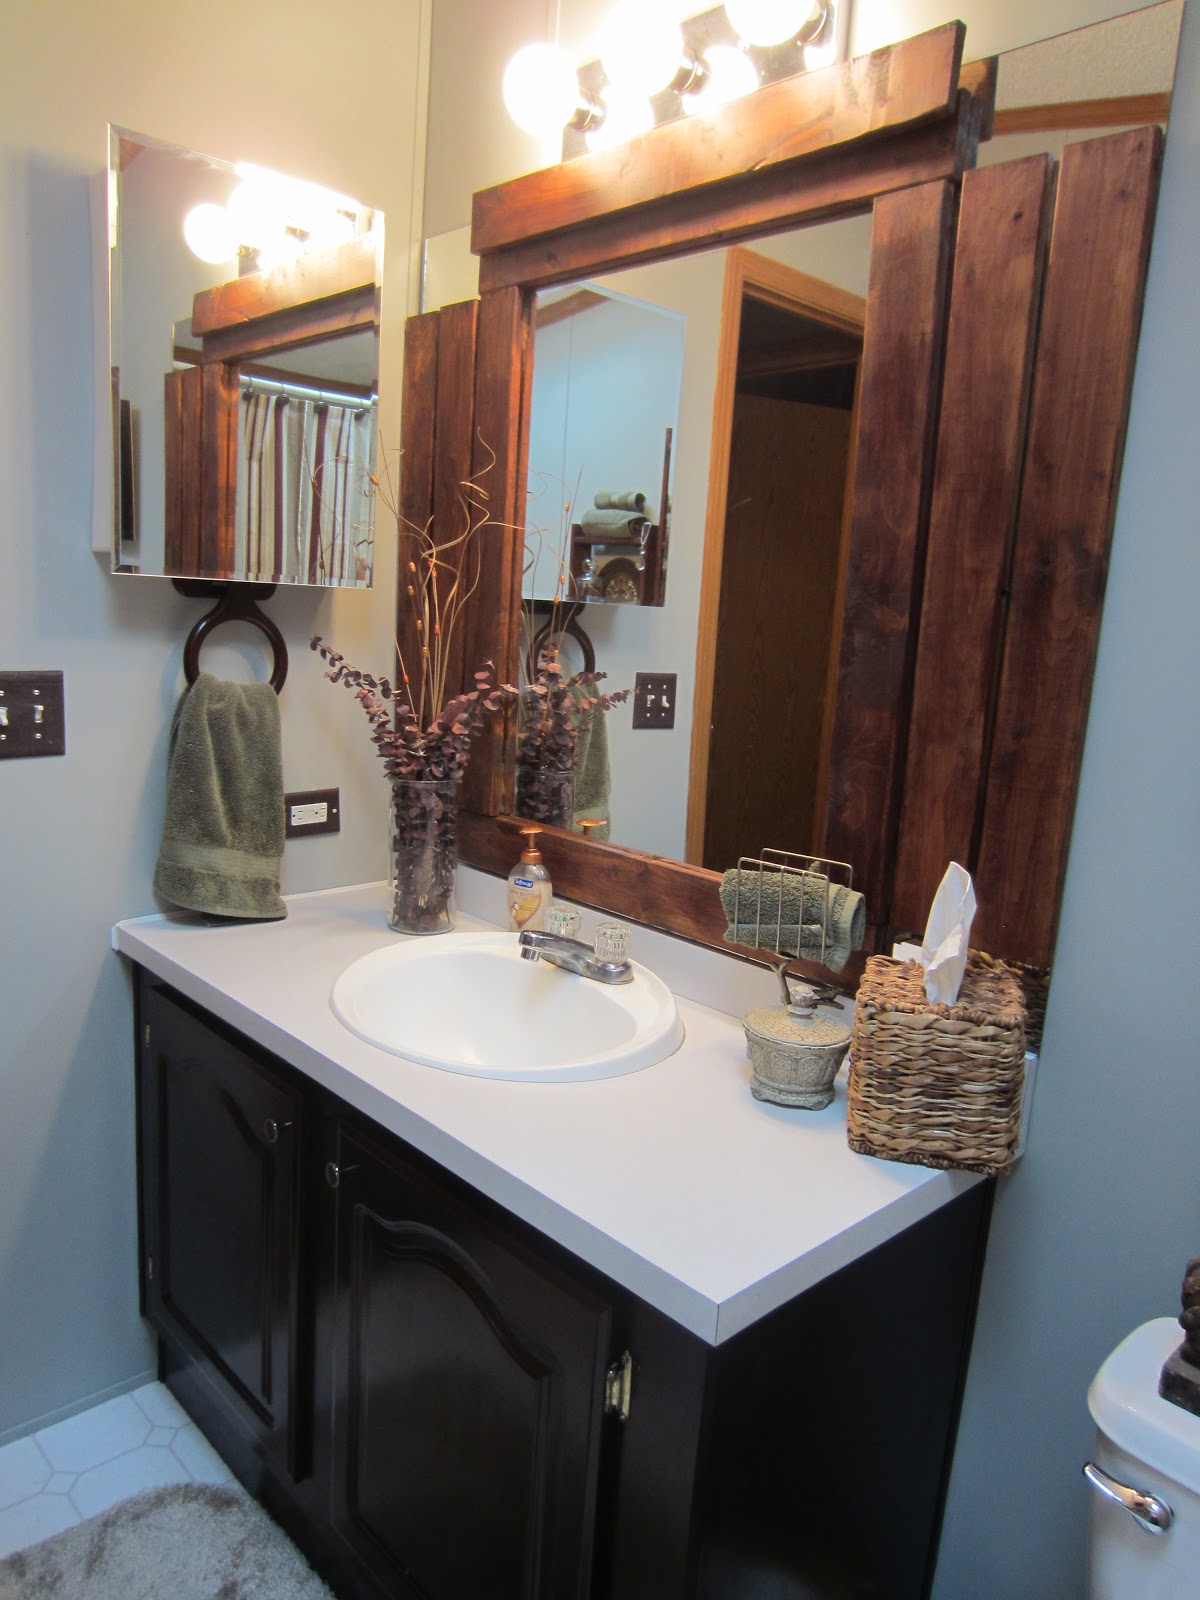
 Little by little, the once drab room began to take shape. I had a brainstorm with an old wooden shelf and transformed it into unique shelving and even used it to dress up the boring mirror. Check out how I did it here Knock On Wood - repurposed yard sale shelf
The next weekend I hit up an estate sale with my mom and found a few little gems that added to the look: a decorative napkin holder that became my new wash rag holder, a cool dish with a lid to hold little odds and ends and a fabulous candle holder.


The room was almost complete when my mom stopped by to see what I had done and told me she had a set of rugs I could have that weren't big enough for her bathroom. Score! I love hand me downs. For the finishing touches I decoupaged the switch plates with scrapbook paper to tie into the cabinets, brought in some knick knacks and artwork from other rooms in the house and added towels from the master bath.
Here's how it all came together...


Ready for the breakdown?
1 quart of "mistake" paint - $4.98
1 quart of Rustoleum Kona Brown - $7.99
2 cabinet pulls in a silver finish - $1.96
Shower curtain from Goodwill - $3.99
Basket for bath toys - $1.00
Decorative dish - $1.00
Silver wash cloth holder - $1.00
Giraffe candle holder - $2.00
Scrapbook paper - $.60
Wall shelves - FREE (plus left over brown paint)
Wood for mirror - FREE
Rugs - FREE
Towels from master bath - FREE
Accessories from around the house - FREE
TOTAL COST = $24.52
I can't wait to start planning the master bath!
No comments:
Post a Comment