Wednesday, November 28, 2012

Deck the Halls - Christmas decorating on a budget

Money is tight to begin with around the Holidays so the thought of shelling out more cash for decorations distresses me. Like most young people, the majority of my Christmas decor is hand-me-downs, dollar store deals or thrift store finds - let it be known, there is nothing wrong with that, but sometimes those thrifty finds could use a little sprucing up. For little or no money, I spread the joy throughout my house by using said finds, basic craft supplies and a little creativity...

Fill clear vases in different shapes and heights with shiny bulbs to create a stand alone centerpeice. All these bulbs were purchased at Goodwill for less than $2. By placing a mirror underneath, the light is bounced off and creates a little sparkle.


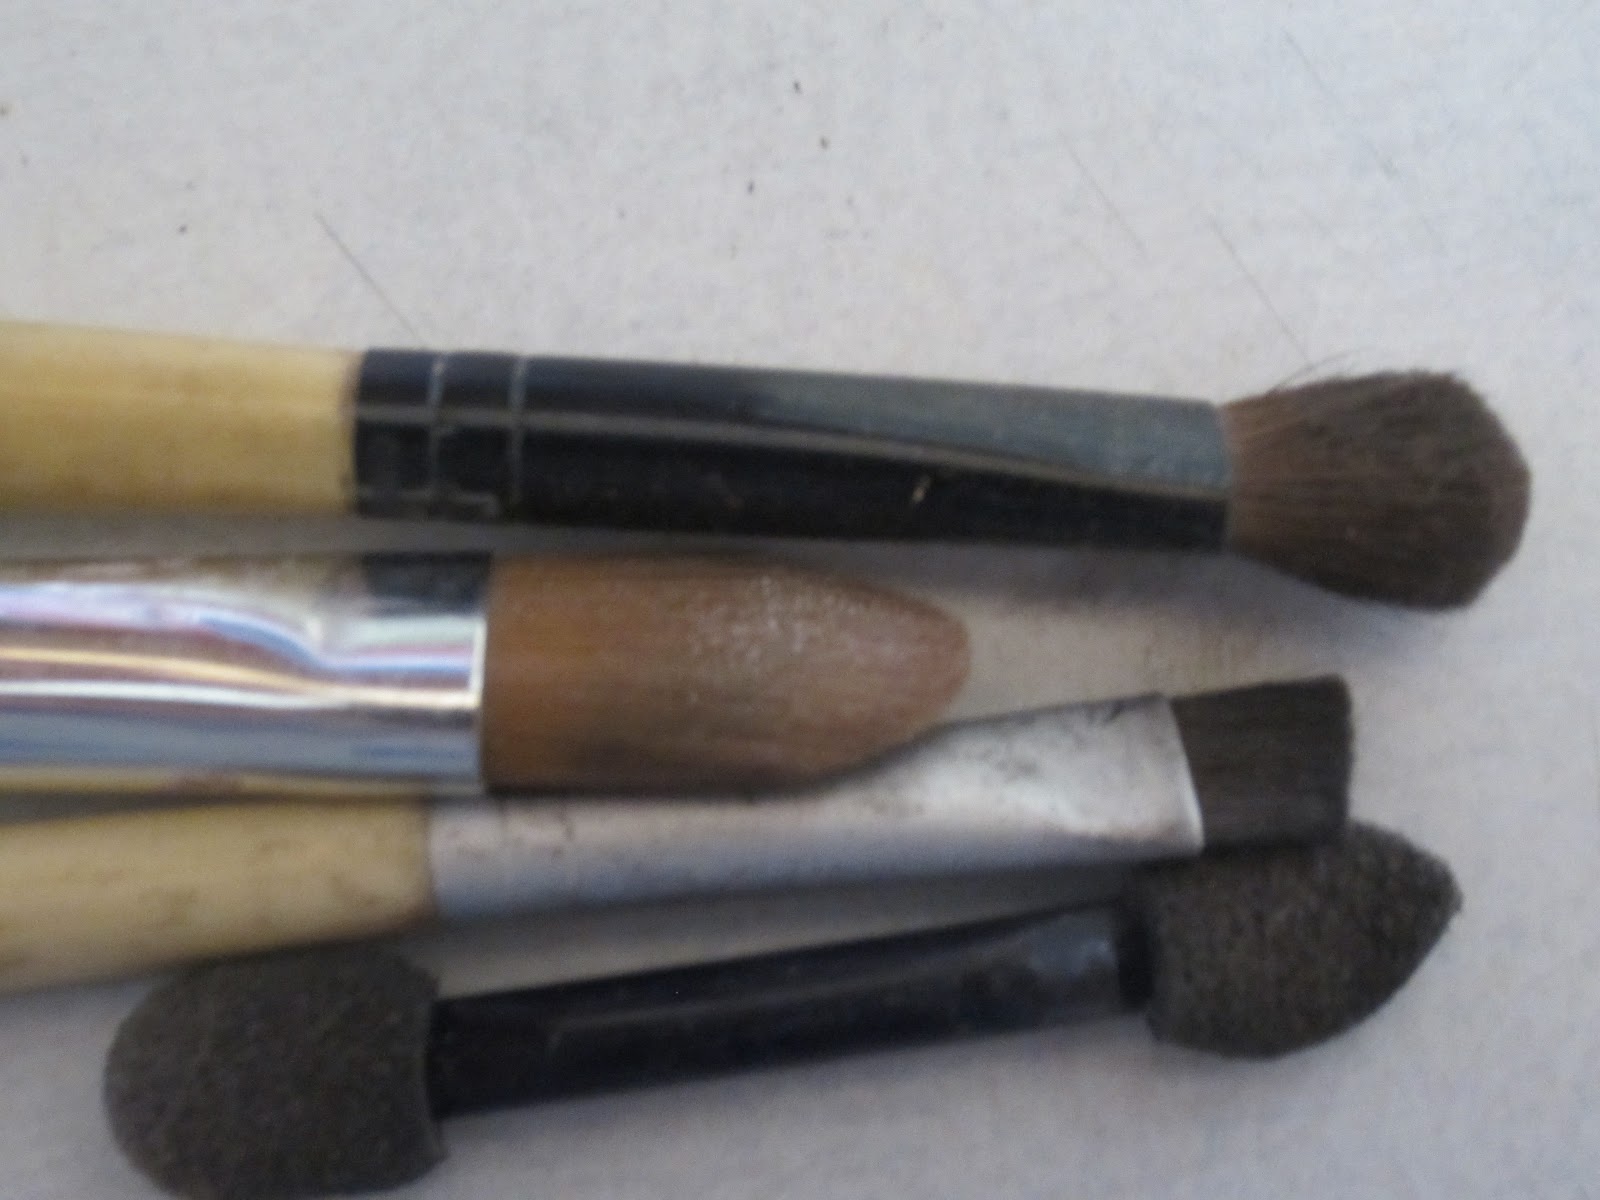
Give any plain, boring decorations a little glitz and glitter! Mix equal parts Elmer's School Glue and water then add a couple tablespoons of loose glitter. Using an old paint brush (not all the glitter will wash out), brush or dab the mixture on until you reach your desired level of glitteriness (this was 3 coats).


Little hands shattered a cherished snow globe? Carefully clean out all the glass and add a candle. Voila!

Fill awkward spaces with color by using more bulbs (hey, you can pick them up all year on the cheap). I used a large serving tray as a base to add pine cones that I gathered from the park, glass bulbs that lost their hangers (just tuck them in upside down) and a few sprigs of gold berries.

Save a yard sale wreath! I bought this one for 50 cents and quickly removed every tacky berry, broken pine cone and gaudy ribbon. Once it was a blank canvas, I was able to add whatever I wanted. Here, I decided to keep it simple and just wrapped it with gold and red ribbon and a strand of beaded garland.


 Make every inch of your home ooze Christmas spirit by converting pictures into presents. Dollar Store wrapping paper and a few strips of thick ribbon transform the entire look of the room.
If your picture is larger than the width of standard wrapping paper, try using a vinyl table cloth (this one I purchased after Christmas last year for around a buck). Just make sure your tape is strong enough to hold (I used Duct tape).


For a dramatic statement, spray paint branches from your backyard with a shimmery metallic gold or silver and put in tall vases. I added some silk poinsettias for color and a couple red spiky filler stems.
A clear plate from the dollar store becomes a bold platter with some pretty fabric and Mod Podge. Just cut the fabric to size and decoupage on the back. I used a plate stand to display it upright and it became a nice addition to my bakers rack.

Bulbs, bulbs and more bulbs. Here I strung glittered bulbs (these came that way but you could do it yourself) with plain red ribbon and strung from the curtain rod. I just guessed on the length of each one to keep the look random and made sure the knot was behind the rod so it looked clean and finished.
Sorry it's so dark.

If you haven't noticed yet, I love glittery things and I always buy the inexpensive packs of flat glitter ornaments at Walmart (they are only .97 for 12!) but I realized this year that I had way more than I needed for the tree. With a little wrapping ribbon, I was able to string them to use as garland. I did this one with gold and silver snowflakes but there are a ton of shapes and colors available.


weave it right through


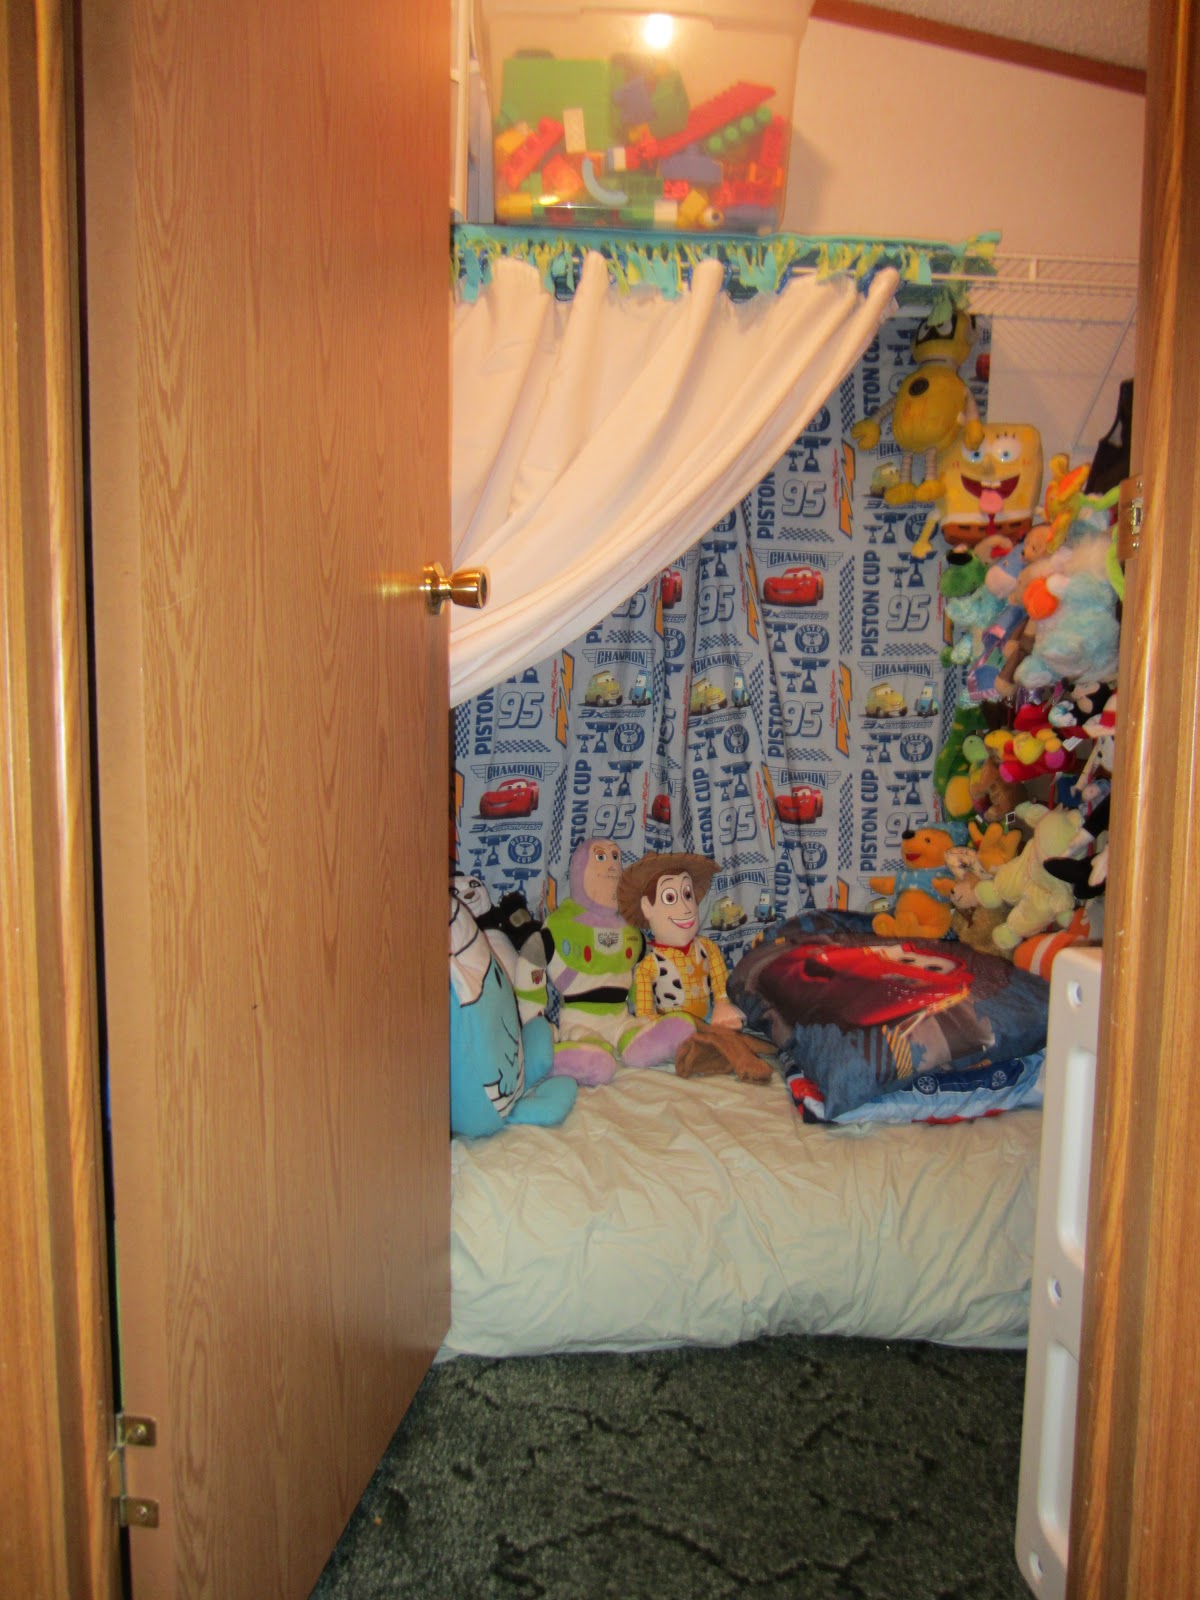
I apologize in advance for this picture, but here is my solution to hang stockings without a mantle. Normally I just use hooks on the wall but this year I thought I could make the most out of all surfaces and decided to hang them in front of the sliding glass doors (they wont be getting used in the winter). I used a curtain rod that my son ripped out of his wall (don't ask) and a strand of beaded garland, that's it. I wrapped the ends of the garland around the ends of the rod and twisted them together so they would 'knot', strung the stockings on (do this first I suppose) and hung from a small tack nail near the ceiling.


Well there were 12 ideas from my home, hope you find something to try in yours. Merry Christmas!

Tuesday, November 27, 2012

Fabulous Fort - total closet overhaul

I have many, many gripes about my house, but one thing I will give to it, is the fact that the closets are huge. For the most part I take full advantage of the extra square footage; the master bedroom closet is loaded with my massive amount of clothing and my stepdaughter's closet is basically an extra storage shed. However, I felt that my son, Drake's, closet was being under utilized. Awhile ago I moved his dresser in there to free up some room for toys and had a few things on the shelves but, overall, there was a lot of wasted space.


While cleaning out other areas of the house, I came across Drake's old crib and tried to think of some way to repurpose it. My first thought was to use the mattress to make some sort of reading nook. I placed it on the floor and moved the dresser into the corner, giving it a boxed in feel. Then I folded an old king size down comforter in thirds and wrapped it around the mattress to add some fluffiness.


 On the back wall, I hung a flat twin sheet to soften up the appearance of the wall and I folded a extra blanket and laid it on the overhead shelf so you wouldn't have to look at the bottom of the boxes.
 
I used shower curtain rings from Dollar Tree to attach a plain white shower curtain to the clothes rod.


 The side rails from the crib wedged in perfectly on the either side of the mattress and by flipping them on end, I was able to use them to hang the overflow of stuffed animals. I also added the small mattress off his old changing table against the rail for added padding.


 By tying yarn onto the top and bottom slats of the side rails I could use clothes pins to hang smaller stuffed animals that normally end up lost in the toy box and some I was able to just weave in between the bars.


Some sort of tieback was needed for the shower curtain and I got to repurpose part of Drake's Captain America Halloween costume! The belt already had velcro on it so all I had to do was nail one side into the wall, wrap it around the fabric and attach it to itself. Easy!


To keep the form of a tent, and not have the material falling in on the bed, I placed the adjuster bar from the crib across the top. There was already grooves in the metal that fit the slats likes a glove so I don't have to worry about it slipping and bopping someone in the head.
Lastly, I hung up a touch light with stars and a moon on it on the back wall. When turned on, the shapes shine directly on the white curtain making the entire fort alight.
Drake decided he needed to add more stuffed animals on the bed itself and after a couple of extra pillows and blankets, this fort was ready for playtime!
To finish off the closet, and make sure I made the most of every possible inch, I brought in a small Little Tikes shelf for more, out of sight, storage (I know it looks empty but there are a lot of games and puzzles coming for Christmas). Hanging the Aqua Doodle mat on the wall will give Drake the opportunity to draw whenever he wants without hunting down mom and a couple nails gives the awkward foosball table a place to call home.

I even hung a poster that was starting to get ripped hanging next to the bed. For less than a couple hours work, I have set up a place to make countless hours of great memories with my son and it only ended up costing me $2 (shower curtain and rings).

Monday, November 26, 2012

10 Minutes a Day to an Organized Life - the cosmetics stash

I may pride myself on being crafty but the older I get, and more stuff I accumulate, the more I realize the NEED to get (and stay) organized. I must admit, organization does not come naturally to me but I devised a plan that would not take up more than 10 minutes a day and would help me live with more order and less stress.

There is no need to tackle your entire house at once - that would just cause clutter chaos. Instead, I prefer to focus on one small project a day, and before you know it, your house, and your life, seem more manageable. 


I chose to start with every women's bottomless pit - the cosmetic stash. This black hole is a necessity and is used on a daily basis, yet is often overlooked. So why not get it out of the way first? I keep my makeup in a decorative box that I can keep on the counter so I have easy access to it and it still looks pretty. The key is to pick a small box - the less room you have to store things, the less things you will have. Simple, huh?


What a mess!
Pretty gross, huh?
First things first - empty out your entire collection and get ready to sort. Find all your brushes, they need to be washed (this should be done more often than you would think). In a cup, put a couple tablespoons of vinegar, a squirt of dish soap and top off with hot water and let your brushes soak for about 5 minutes (give 'em a good swirl to get 'em going).

While brushes are soaking, use a disinfectant wipe to clean your drawer, or box, inside and out. 

Yuck!   

Next, you need to decide what you should keep and what can be pitched. As a rule, anything that is over 6 months should be thrown away but don't stop there; if it is a color that doesn't flatter you, get rid of it. If it is so close to being empty, yet you think you can get another drop out of it, just face the facts and throw it out. If it is cracked, broken or otherwise destroyed, just toss it (you will feel better when everything looks nice and new).

Admittedly, I wear a lot less make up now that I am a stay at home mom but here is my list of the only things, I believe, that are needed...
  • a good foundation - if you are going to splurge, this is where to do it
  • a loose finishing powder - makes your look complete even when you're short on time
  • brown/black mascara - colors are fun but a dark mascara works for every complexion and hair color
  • eyeshadow in shades of brown - get the most bang for your buck and pick one that has 3 or 4 colors in it that is used for the entire eye area (highlights, lid, liner) and has flecks of gold
  • eyeshadow in shades of gray - again, pick one that has multiple shades in one and has flecks of silver
  • eyeshadow in deep charcoal - this is to be used as eyeliner and I make sure to get one that has a little shimmer to it
  • wild card eyeshadow - whatever crazy color that works for you that could be used for a night on the town or for a fun and flirty look (try aquas or purples!)
  • pearl eyeshadow - the more shimmer the better here - use for highlights 
  • neutral lipstick - for everyday use based on skin tone
  • vibrant lipstick - whether bright red or hot pink, pick something that is a go to when you go out
  • clear gloss - a no brainer, just adds some shine (try one with a plumper built in)
  • primer - I only use primer for special occasions, but it really evens out skin tone and saves your face if tears are going to be shed (a must have for weddings)
  • blush (optional) - I don't personally wear it, but it is a staple for a lot of women
That's it! That's all you need to look great every single day! All those extras that we buy on sale or purchase for a specific event just become lost in a heap of clutter anyways.

Once I decide what I am keeping, I use another wipe and give a good scrub to every single thing that's going back into the box (those things get dirtier than you would believe) and give my brushes a good rinse.
after...

And here is the end result. Try to keep up on this every six months or so and you are one step closer to an organized life.

Sunday, November 25, 2012

Stuck Like Glue - magnets and frames = clutter free fridge

I have always had a dilemma when it comes to my fridge- I love magnets but they end up scattered all over with no purpose; I have tons of arts and crafts from the kiddos that need to be displayed; there is always some random papers or recipe cutouts that wind up stuck up wherever there is space.  While redoing my kitchen I decided I needed to update my refrigerator to match the more streamlined look of the rest of the room.

First I removed EVERYTHING from top to bottom and gave it a good cleaning then took inventory of what I had. All children's artwork was sorted and set aside to be hung up on a bulletin board in the craft area or tossed; problem one solved.

Next I controlled the paper clutter by repurosing a cereal box as sort of a magnetic file folder - check out how I did it here: Magnetic Organization Anything that wasn't needed in the kitchen was put where it belonged or stashed out of sight.

The top of the fridge needed some work too. Like most people, I used mine as a catch all for odds and ends that had no real place to call home. I had three really nice baskets that I was just dying to find a use for. They once belonged to my son, with Winnie the Pooh liners but I reclaimed them when his room outgrew Pooh. Once the liners were removed they were a blank slate. The largest was the perfect size to hold two loaves of bread side by side, the second worked great as storage for tortillas and pitas and the third, and smallest, became a place to contain all the miscellaneous items I didn't want to deal with (chip clips, extra dry erase markers, magnets that had phone numbers on them that I didn't want to look at).

Lastly, was the issue of magnets. I LOVE magnets and have collected quite a few over the years that I have grown fond of, yet no matter how many times I straighten them or try to make them look nice, they always end up looking like a cluttered mess. Especially when small hands get a hold of them and try to "make them look pretty". The solution to my problem was easier than I could have imagined - FRAMES! Not just any frames; dollar store frames! I don't know why I didn't think of this years ago.


Just attach magnetic strips with hot glue and carefully take out the glass and backing.


Use different size frames for more variety.


I took a couple more frames and added scrapbook paper that coordinated with my kitchen colors and had an instant dry erase board. I made one for a grocery list and one as a "to do" list. Just write right on the glass. 


...and the finished look! It is in my plans to redo the calender but one step at a time.


Tuesday, November 20, 2012

Under $25 - how I updated my bathroom for next to nothing

The guest bathroom in my house has been a source of constant frustration since I moved in with my, now, husband five years ago. The dingy green wallpaper and carpenter grade cabinetry made the room feel dirty and cheap. Scott, my husband, told me from day one that I couldn't paint over the wall paper because it had some sort of vinyl in it. It may have taken years but I finally got a wild hair up my bum and started researching the basis of his claims. Turns out there was a simple solution - primer (or in my case, paint with primer built in).


That was all I needed to get my brain turning about what I wanted to do in there but with limited money, I decided to wait until after the Holidays to undertake the project. However, I make it a habit to check the "mistake" section in the paint department every time I'm at Wal-Mart and one day I found just what I needed to kick start my plan a little early - the perfect shade of greenish gray with primer build in for only $4.98! Are you kidding me?!

After the paint went up I knew I couldn't leave it at that. This was the guest bathroom and would be seen by anyone who visited the house, it had to have some wow factor. I rearranged accesories and switched out shower curtains, trying to work with what I had, yet nothing was working for me so I decided to take a trip up to Goodwill to find some motivation (and hopefully a good deal).

It must have been my lucky day because I found a great shower curtain that would work perfectly with the new wall color for only $3.99! While I was out I swung by Dollar Tree and found a plastic basket I could use for my son's bath toys that would go with the color palate that was starting to form. Yet, the cabinets and towel holder were still urking me so I decided to go ahead and paint those too. For under $8 I got a high gloss dark brown color that instantly made the entire space seem more expensive and while I was at it, I replaced the pulls.

Little by little, the once drab room began to take shape. I had a brainstorm with an old wooden shelf and transformed it into unique shelving and even used it to dress up the boring mirror. Check out how I did it here Knock On Wood - repurposed yard sale shelf

The next weekend I hit up an estate sale with my mom and found a few little gems that added to the look: a decorative napkin holder that became my new wash rag holder, a cool dish with a lid to hold little odds and ends and a fabulous candle holder.


The room was almost complete when my mom stopped by to see what I had done and told me she had a set of rugs I could have that weren't big enough for her bathroom. Score! I love hand me downs. For the finishing touches I decoupaged the switch plates with scrapbook paper to tie into the cabinets, brought in some knick knacks  and artwork from other rooms in the house and added towels from the master bath.

Here's how it all came together...


Ready for the breakdown?

1 quart of  "mistake" paint - $4.98
1 quart of Rustoleum Kona Brown - $7.99
2 cabinet pulls in a silver finish - $1.96
Shower curtain from Goodwill - $3.99
Basket for bath toys - $1.00
Decorative dish - $1.00
Silver wash cloth holder - $1.00
Giraffe candle holder - $2.00
Scrapbook paper - $.60

Wall shelves - FREE (plus left over brown paint)
Wood for mirror - FREE
Rugs - FREE
Towels from master bath  - FREE
Accessories from around the house - FREE

TOTAL COST = $24.52

I can't wait to start planning the master bath!