Any parent knows children's rooms are not much more than bottomless toy pits. Even with toy boxes to put things in, there are so many things that still end up on the floor with nowhere to go. While playing with my son, Drake, in his bedroom one day I realized the answer to the problem was easier than I thought. There was tons of places to store and display all the toys and games, I just needed to go vertical. And while I was at it, why not make it a little more stylish as well?
Here is what we were starting off with.
We had some bins and shelves but there was SOOO much wasted space on the walls and my son couldn't really see what he had. There was also a complete lack of color and style. A little boys room needs to be fun and vibrant so I had my work cut out for me.
When we upgraded to a twin from a toddler bed, my mom gave us a headboard she found in her basement. It screamed 1970's but she spent the time to clean and paint it so we used it for awhile - but it needed to be jazzed up just a little.
 |
| I pulled the ugly shutter-style doors off the sides. |
|
|
Not much screams "little boy" more than comics so I pulled out Sunday's paper and started snipping. Mod Podge and a couple coats of polyurethane made a huge difference.
 |
| It also became dinosaur storage! |
|
|
|
|
To give everything a more coheasive look, I spray painted all the furniture white to contrast nicely against the deep green color we picked up for the walls.
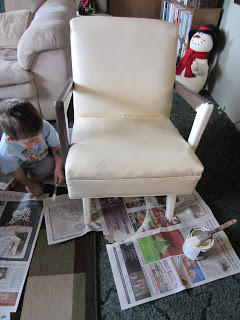 |
| I pulled in a chair from the guest room and painted it white as well (even the vinyl) making it look brand new! |
|
|
|
The bookshelf was already white. I just cleaned all the stickers off and lined the back with blue wrapping paper from the dollar store.
NOTE: The dollar store paper was pretty flimsy and hard to work with. Next time I would definitely buy a thicker roll.
Then I spray painted the toy box a bright blue color to tie into the room a little better.
I found this little shelf at Goodwill for around $3. Drake loved that it was a skateboard but I had no clue what to do with it once we got it home. The color was too bright and it was a really awkward shape.
After a coat of red paint I found on the clearance rack at Home Depot, it found a perfect spot above the door. Not only does it draw your eye up, it hold the smaller stuffed animals that don't get played with but I didn't want to throw out (baby's first Christmas, Mommy Loves You, etc...).
The blue blackout curtains were already in the room (we were hoping that would help him sleep through the night, didn't work) but the panels were too heavy for the small decorative rod. I grabbed a few utility hooks from the hardware section at Walmart and screwed them right into the wall! So easy and the red worked perfect. Now I'm not worried about them pulling out of the wall.
I found another use for the utility hooks on the opposite wall. There was a large wooden dowel in the shed that had no use so I used more of the red paint I had and hung it high on the wall. Then I poked a small hole in Styrofoam stars (also from the dollar store) and hung them on fishing line from the pole at random lengths.
The artwork you see above started out being a brown wooden mirror. The glass broke long ago and I have been trying to find something go do with it for awhile.
Drake wanted in on the action so I gave him the task of priming.
Then I used craft paint to define the moon and starts. Poster board was cut and glued on the back then I hand painted the words to "Star light, star bright" and attached a picture hanger to the back.
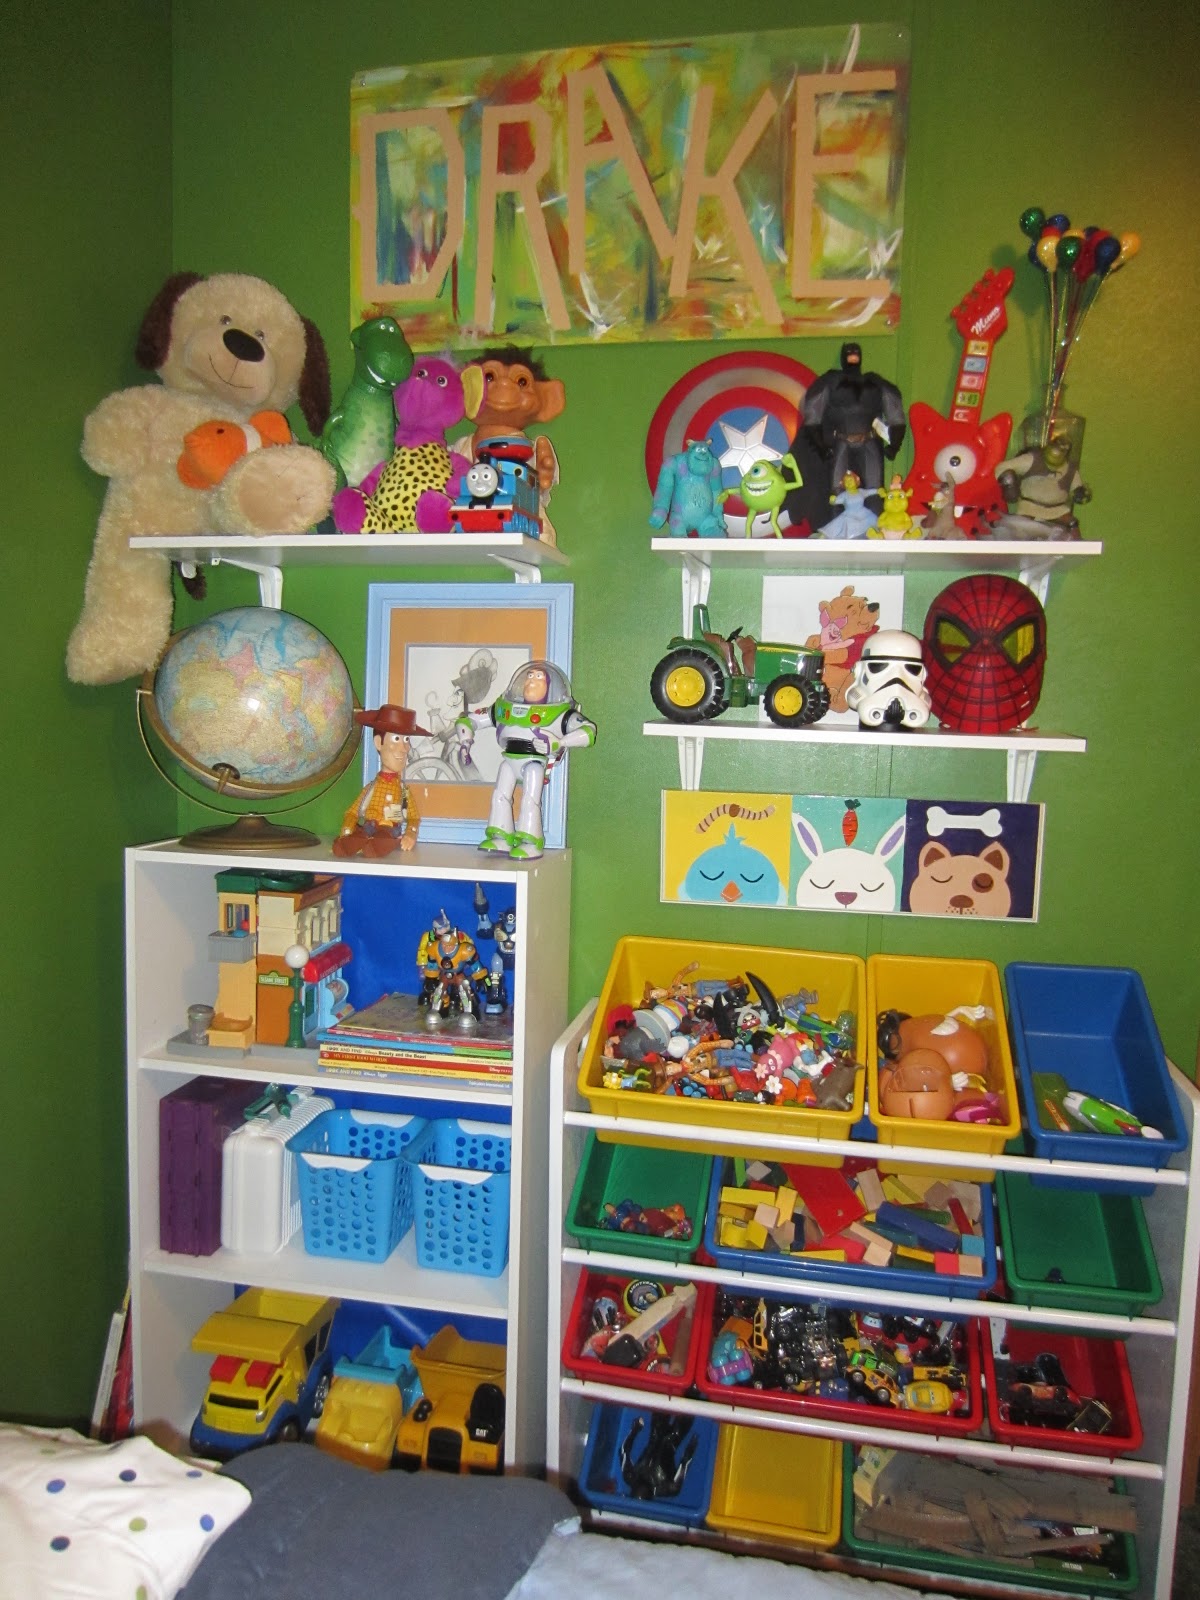
The next project was probably the most fun. I took the panel shelf off of a broken changing table, used painters tape to tape off "DRAKE" and went to town with craft paint! Drake and I did this one together and had a blast.
Once it was dried, we peeled off the tape and screwed it to the wall.
You can also see some plain white shelves I picked up to add visible storage.
The broken changing table came in handy again. I took the 3' slats and turned them into book storage. First I spray painted them white.
Then I attached them to the wall using more picture hangers and used small "C" hooks and red yard to make upright book storage.
A cheap yardsale frame, a coat of white paint and a printed Dr. Suess quote became instant artwork for the reading area.
Another cheap frame (this was a large photo collage frame from Walmart), more paint and more quotes...
This was actually the back pages of the book, "Where the Wild Things Are". I just cut out the letters and glued them on poster board.
After putting the bed up on the frame I attached an old sheet with a staple gun on the boxed spring. I splurged a little on the bedding and bought a new set of polka dot sheets and pulled in a blue comforter from the guest room.
 |
| Picked up a $5 mirror to make the space look larger. |
|
|
The funky truck shelf becomes a display for his treasured Toy Story collection.
This picture was picked up at an antique store for only $5!
Cereal boxes, spray adheasive, red paint and glitter....
= custom letters!
An old wooden board and more craft paint becomes another custom art piece.
Here I just sketched one of his favorite characters in an old frame.
It's a great feeling knowing my son's room is completely personalized and made just for him. It took just over a week with all the little projects but the finished room looks great and he just LOVES his new bedroom.
Remember before...
And after...